To start collecting social registrations with Instagram, you need to get your Instagram app up and running.
Instagram apps are now handled via the Facebook Developer site, so you'll need a Facebook login to get started.
Here's how:
1. Firstly we will set up a parent Facebook app.
Log into Facebook at the Facebook Developer site and click on My Apps then Create App.
2. Choose app type 'Consumer' and enter a name of your choice.
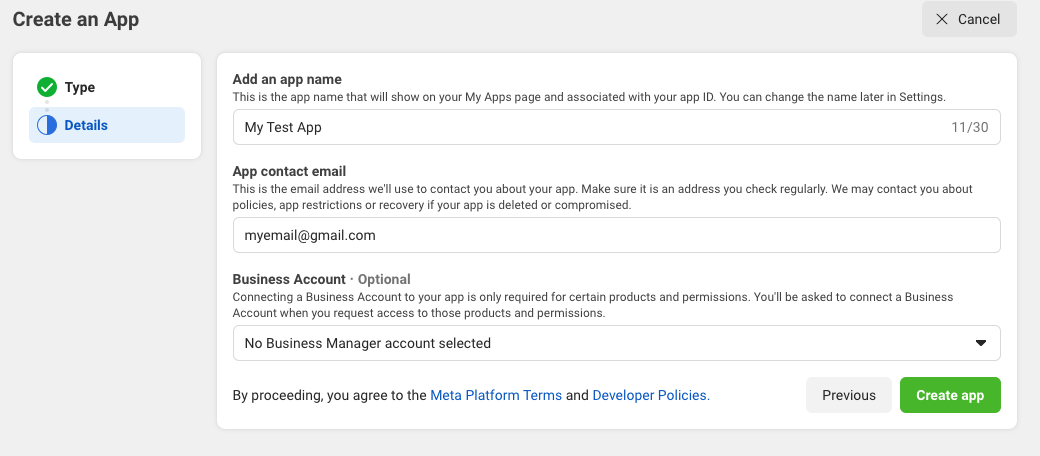
Note: you may be asked to re-enter your Facebook password again here to confirm.
3. You'll now be asked to add products to your app.
Select "Instagram Basic Display"

4. Set up your app: Basic Settings
Firstly, go to Basic Settings and fill out the details there as appropriate.

You'll also need to enter a Privacy Policy URL here if you want to put the app in Live mode later on. If you don't have your own privacy policy URL, AE's is https://get.theappreciationengine.com/support/privacy-policy/
5. Set Platform
Once you have saved the above form, scroll town to the bottom of the page and select "Add Platform", then "Website" and enter the URL of the website where your AE Connect app will be used.

5. Create Instagram Sub App
So far you have been setting up a basic Facebook app. Now we are going to create the Instagram element of the app by scrolling down to the Instagram Basic Display section and select "Create App". If you have missed any of the important fields in the form above, you will see a warning here telling you what you need to add before you proceed.

You'll also be asked to name this app:

6. Instagram Basic Display Settings
You'll see your Instagram App ID and Secret here, which you'll need for your AE Connect app, but first we need to set a callback URL.
Under Client OAuth Settings -> Valid OAuth Redirect URIs enter https://theappreciationengine.com/InstagramAuthenticator_Controller
Important:
If you're on a custom AE Enterprise plan, you'll have a custom domain. Paste that into this field instead. E.g. https://nike.theappreciationengine.com/InstagramAuthenticator_Controller

7. Put your app in live mode
You should now be able to put your application in live mode using the switch at the top of the page. If there are any missing required fields you will be asked to enter them before you go live.

8. Go to your AE dashboard tab
If you don't already have AE open, go to another tab and log into your AE dashboard account.
Click on AE Connect, which is located in the top right-hand menu bar.
9. Select the Instagram icon, from the list of social apps

10. Paste your Client ID and Client Secret into the AE window
You'll find these in the Instagram Basic Display -> Basic Delay section of your app on the Facebook developer site.
"Instagram App ID" is your Client ID and "Instagram App Secret" is your Client Secret.
Then hit Activate Service.

11. You can see your Instagram app is live with AE

12. High five!
You've connected Instagram to AE.
Connect other social networks:
Or choose from the full list.
If you are ready, integrate AE Connect, our social login solution, into your website.
Was this article helpful?
That’s Great!
Thank you for your feedback
Sorry! We couldn't be helpful
Thank you for your feedback
Feedback sent
We appreciate your effort and will try to fix the article
